When you’re clearing clutter, photos pose a space dilemma. After all, those family memories certainly “spark joy,” as organization expert Marie Kondo says.
There’s not enough space for even the best of the best photos in your home, and those old, dusty photo albums take up lots of space.
The solution? Preserve those precious memories forever by scanning and storing them online. Cloud-based storage — accessible through your Consolidated Communications Internet or Wi-Fi connection and your computer or mobile device — is affordable, secure, reliable and (perhaps best of all) never needs dusting!
Let Someone Else Do the Work
You have a few options for digitizing your photos. You can outsource the work to a photo scanning service, like GoPhoto or ScanCafe. This might be the best option if you have older photos that have damage or need color correction.
However, scanning your own photos is a relatively easy process – and it gets quicker the more you do it. This could even become a family project. Enlist the help of your kids or grandkids to sort and scan the old pics, sharing stories as you go.
Scan and Save Photos in 6 Easy Steps
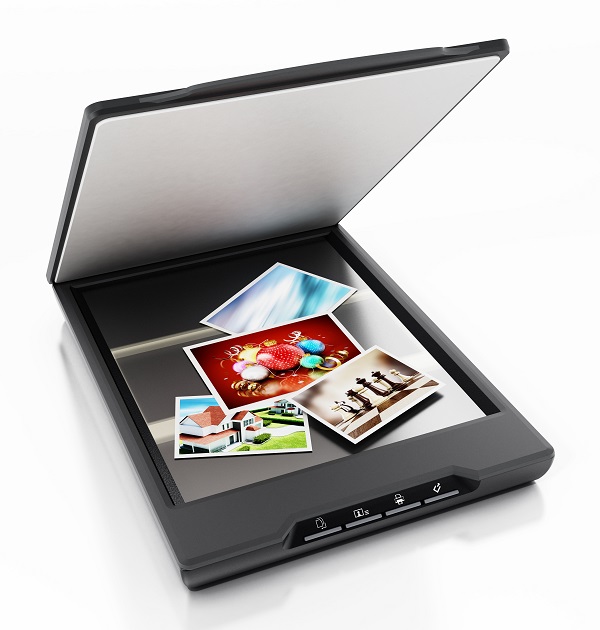
To get started scanning your photos, you’ll need a dedicated scanner (or scanner/printer combo), the software that came with the scanner, a computer, and a CCI Internet connection to upload your photos to the Web.
1. Sort photos. You’ll save time in the long run if you start by sorting through the old images and deciding which ones you want to keep. Skip any out-of-focus images or duplicates. You may want to sort by subject or by year to make it easy to find the images later — it’s easier to do that with hard copies than to move digital files from folder to folder.
2. Make sure your scanner is hooked up and ready to go. Follow the manufacturer’s directions to connect your scanner to your computer and load any necessary drivers — the software that comes with the scanner. When you choose a scanner, look for one with digital image correction and enhancement (Digital ICE). This feature can clean up images with scratches or creases to restore their original quality.
3. Choose the right resolution. The resolution of your photos — or the pixels per square inch (PPI) that make up the picture — depends on what you’re doing with the photos. If you intend to print the photos to larger than their original size like enlarging a 4X6 photo to an 8X10, you’ll need a high resolution. If you only plan to store the photos online, you can scan them at a resolution lower than 300 PPI. If you aren’t sure, scan all images at the highest optical resolution available on your scanner to be safe.
4. Prep your scanner and photos. Clean photos and a clean scanner bed are the secrets to crystal-clear digital images. Before you start, wipe the scanner bed with a clean, microfiber cloth. You can blow dust off old photos with compressed air from a can.
5. Start scanning. You can scan one photo at a time or place a collection of four 4X6 images on the scanner bed at once to save time. You can save similar photos in sets of four or take the time to crop the images to show one photo per file later.
6. Save the files. Consider scanning stored photos in Google Drive, Dropbox, or on a dedicated photo website like Shutterfly. You may also want to load them on an external hard drive or a USB thumb-drive as a back-up.
Scanning old photos can take quite a bit of time, but you can tackle the project by doing just a few dozen images each scanning session. When it’s all done, your digital images will be easily accessible for you to share and enjoy.