Setup Exchange for Outlook via Auto Discovery
Adding Exchange
*Close out of Outlook Completely if it is not already closed.*
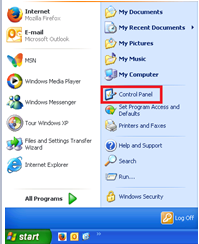
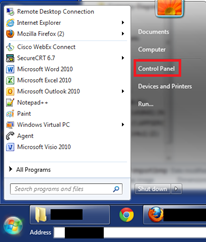
- Click on the Start Icon, and then click on Control Panel.
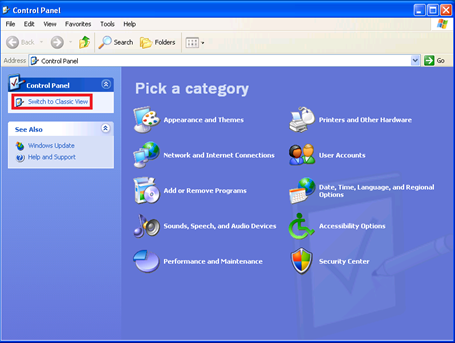
- On Windows XP, if you see the screen below, click “Switch to Classic View.”
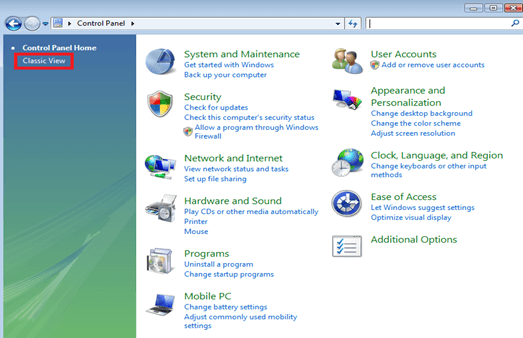
- On Windows Vista, if you see the screen below, click “Classic View.”
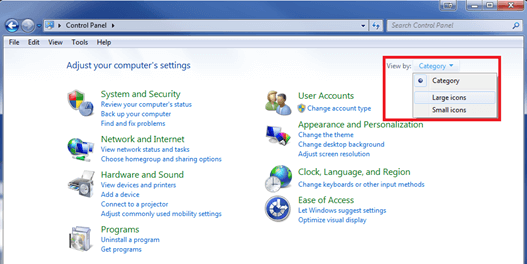
- On Windows 7, if you see the screen below, click “Category” and select either Large or Small Icons.
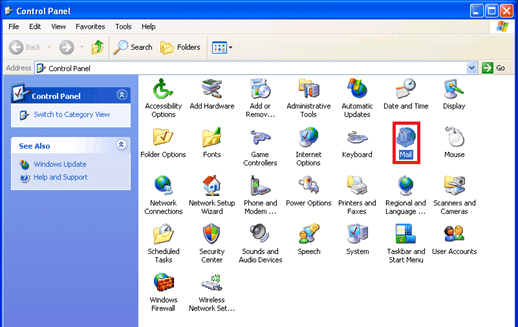
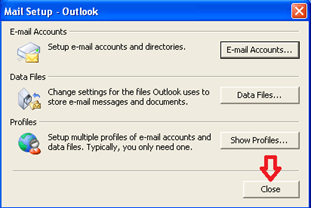
- Double-click “Mail,” you will then be presented with the following screen.


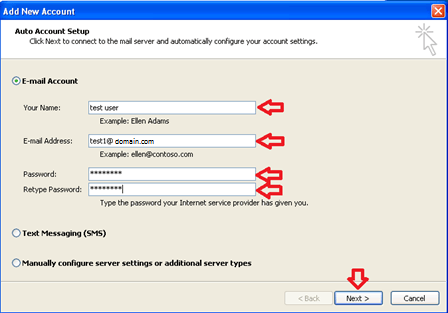
- Fill in the open fields: Your Name, Email Address and Password
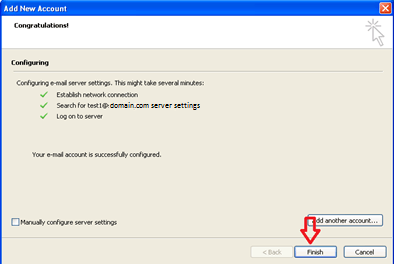
- Click "Next."
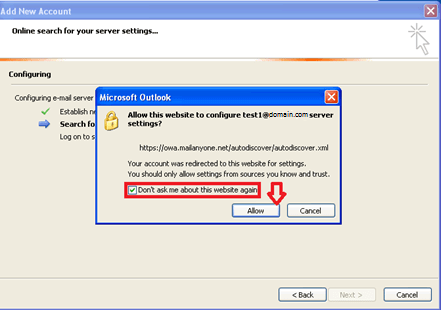
- If the Security Alert pops up, check the box for “Don’t ask me about this website again,” then click “Allow.”
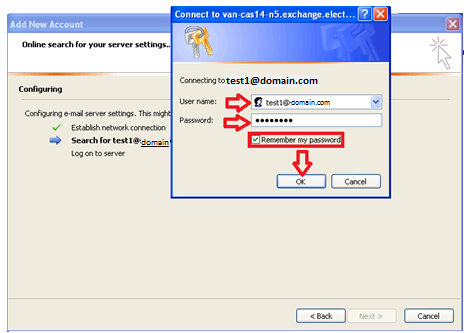
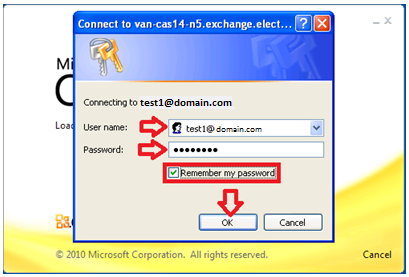
- A login prompt will come up. You will need to enter your username@YourDOMAIN.com (for example: test1@domain.com) and then your password. Then click "OK."
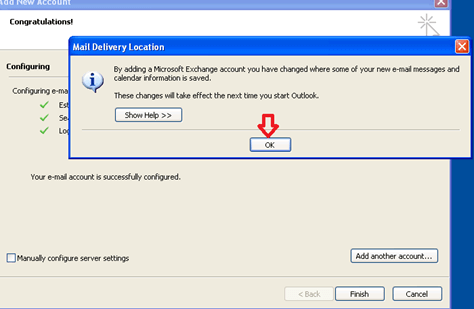
- You will get a prompt stating “These changes will take effect the next time you start Outlook.” Click "OK."
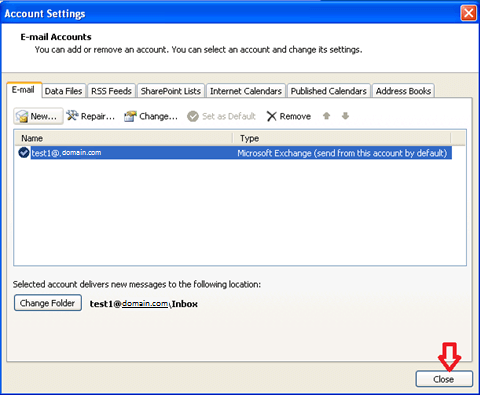
- You can now close Control Panel.
Opening Outlook After the Exchange Account was Created
- Open Outlook
- You will get a prompt for your username (username@YourDOMAIN.com) and password.
Manual Setup
(If Auto Discovery does not work.)
- From your control panel double-click on "Mail."
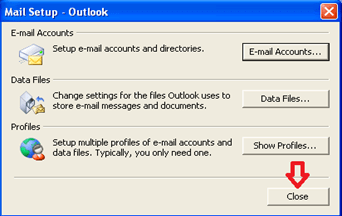
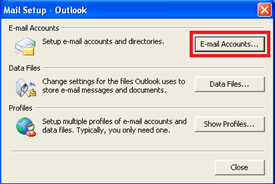
- Click on "E-mail Accounts."
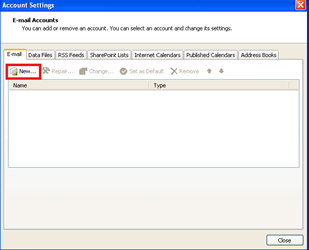
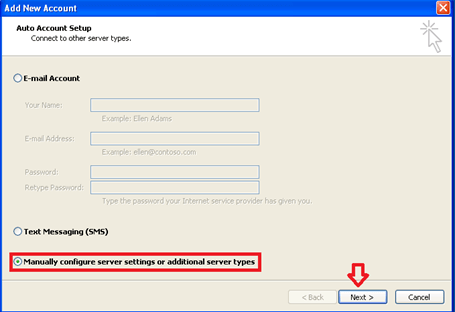
- Select “Manually configure server settings” and click "Next."
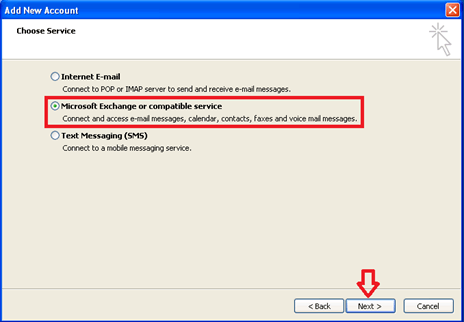
- Select “Microsoft Exchange” and then click "Next."
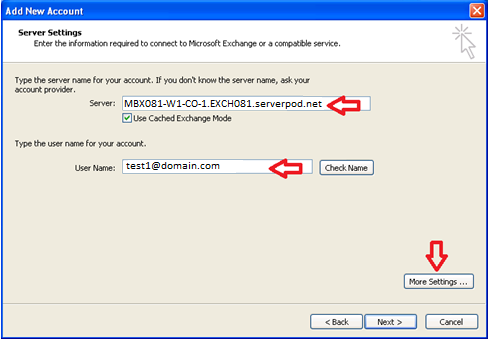
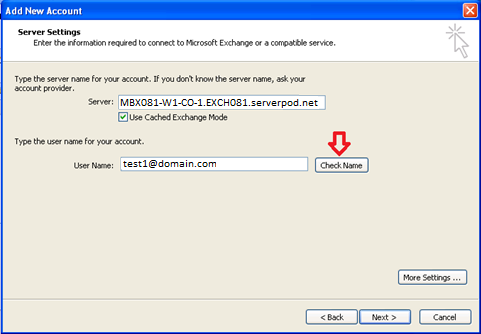
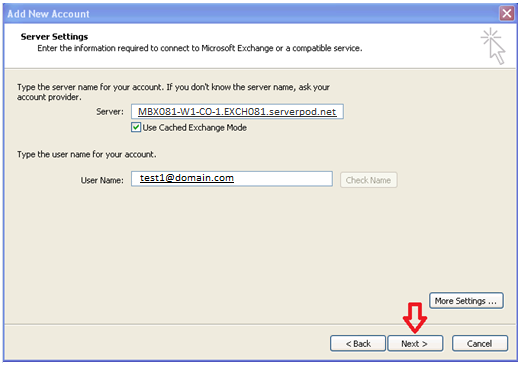
- In the Server field, enter: MBX081-W1-CO-1.EXCH081.serverpod.net
- In the User Name field, enter: username@YourDOMAIN.com (for example: test1@domain.com)
- Then click "More Settings."
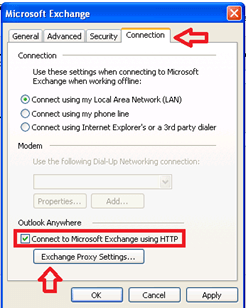
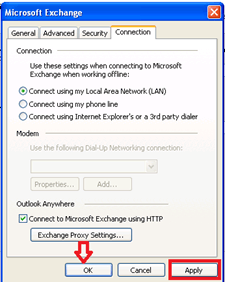
- Click on the "Connection" tab, check the box for “Connect to Microsoft Exchange using HTTP.” Now click on the “Exchange Proxy Settings” button.
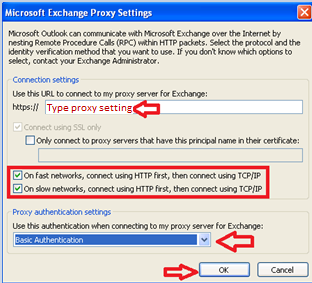
- For the proxy setting, in the https:// field, enter: west.081us.exchange.fusemail.net
- Then check the boxes for “On fast networks” and “On slow networks.”
- Then change the Proxy authentication settings to “Basic Authentication.”
- Click "OK."
- After the last window closes, Click "Apply" and then "OK."
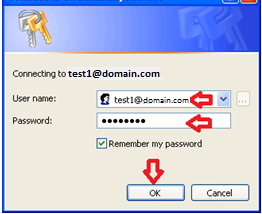
- If you have set everything up properly, a login prompt will come up. You will need to enter your User name (username@YourDOMAIN.com) and Password. Then click "OK."
- If you have entered the User name and Password correctly, the User name will now be underlined, and the entry in the Server field will also be underlined. Note: the Server name may convert to a name that looks like 20250514-db52-4776-b627-0edf7599bbe4@YourDOMAIN.com. Such a conversion is expected behavior.
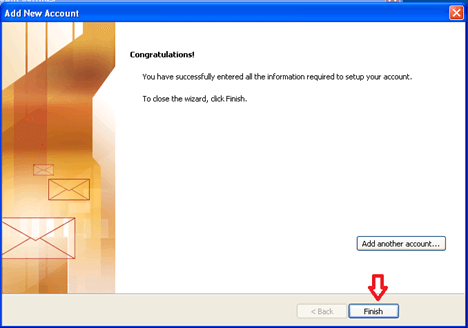
- Click "Next."
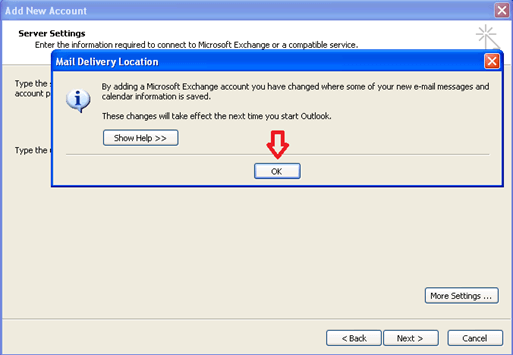
- You will get a prompt stating “These changes will take effect the next time you start Outlook."
- Click "OK."
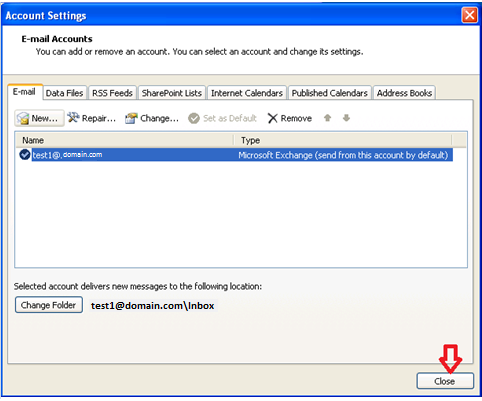
- You can now close Control Panel.
Opening Outlook After the Exchange Account was Created
- Open Outlook
- You will get a prompt for your username (username@YourDOMAIN.com) and password.