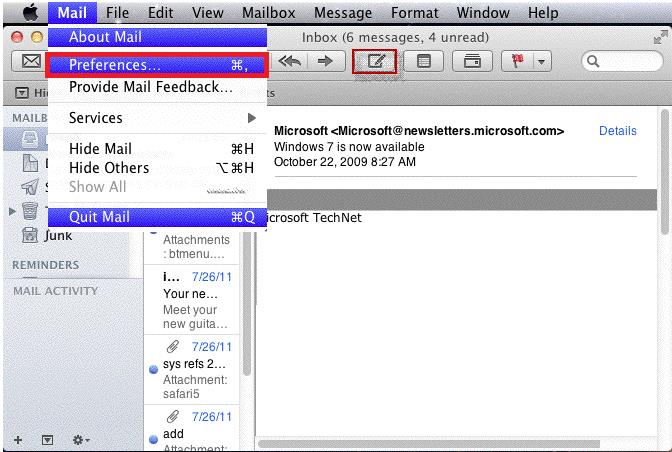
1. Open Mail, click Mail then click on Preferences.
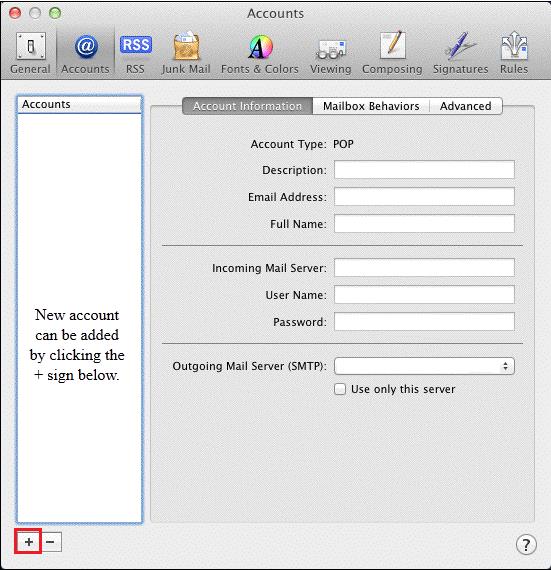
2. Select Accounts, then click the + to add a new account.
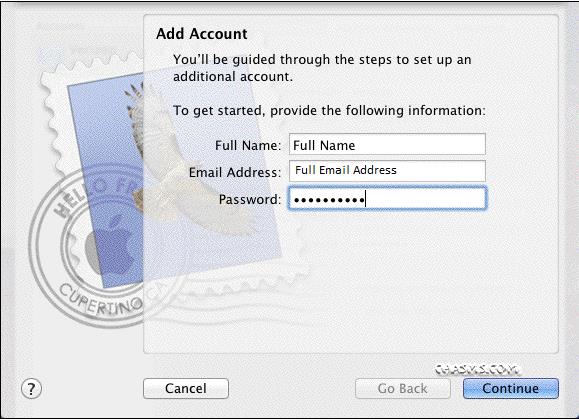
3. Under Add Account:
In the Your Name box, enter the name you want users to see when you send email from this account.
In the E-mail Address box, enter your Full Email Address.
In the Password box, enter your password, then click Continue.
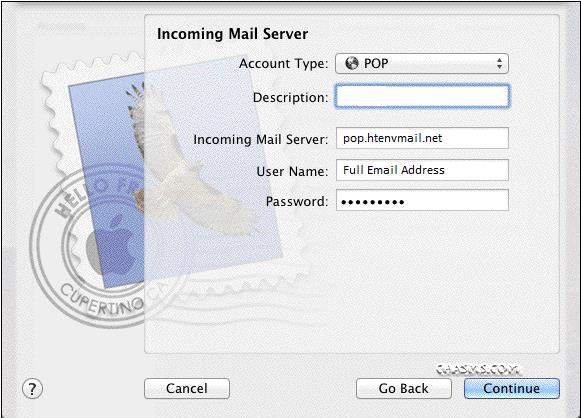
4. Incoming Mail Server:
In the Account Type box, select POP.
In the Description box, enter HTenvmail or whatever you would like.
In the Incoming Mail Server box, enter pop.htenvmail.net
In the User Name box, enter your Full Email Address.
In the Password box, enter your password, then click Continue.
*If you are prompted for a Incoming Server Port you will use 110*
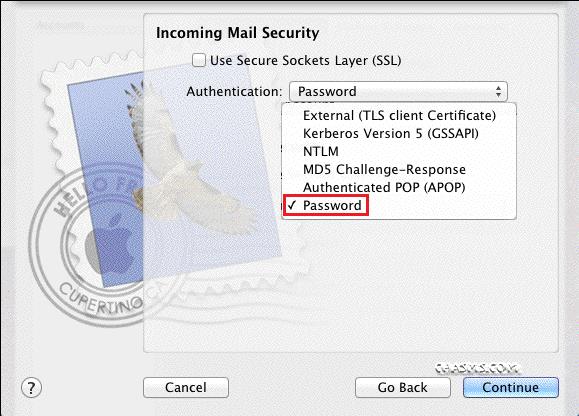
5. Incoming Mail Security:
In the Authentication box, select password, then click Continue.
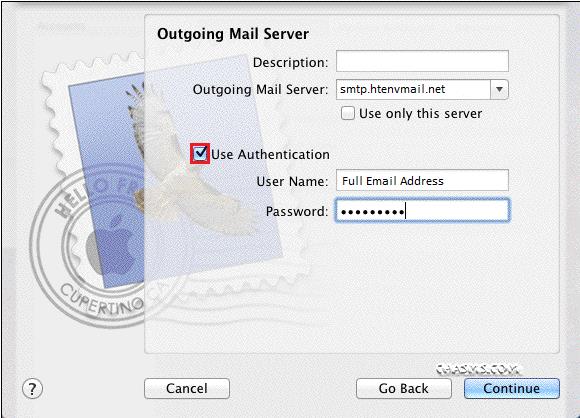
6. Outgoing Mail Server:
In the Description box, enter HTenvmail or whatever you would like.
In the Outgoing Mail Server box, enter smtp.htenvmail.net
Put a Check in the box for Use Authentication
In the User Name box, enter your Full Email Address.
In the Password box, enter your password, then click Continue.
*If you are prompted for a Outgoing Server Port you will use 465*
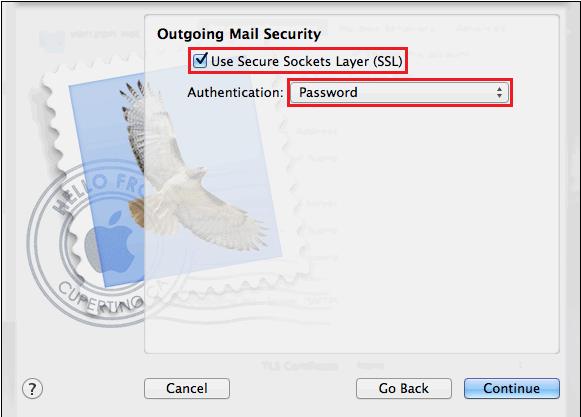
7. Outgoing Mail Security:
Put a Check in the box for Use Secure Sockets Layer (SSL)
In the Authentication box, select password, then click Continue.
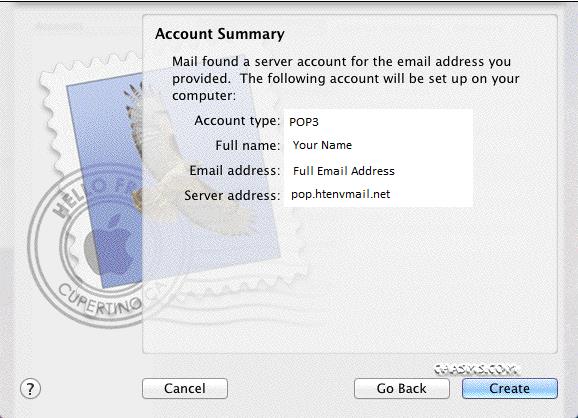
8. Account Summary:
Verify that all settings are correct, and then click Create.
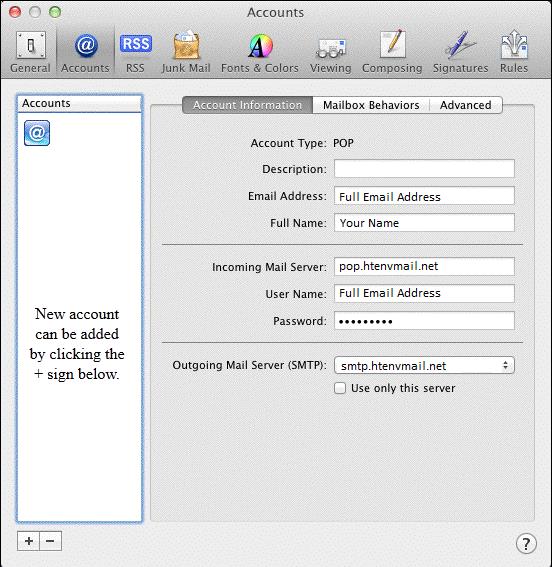
9. Accounts:
From here you can close the Accounts window and you should be all set to go.